Design Plan
Step 1 of 6 — The Vision
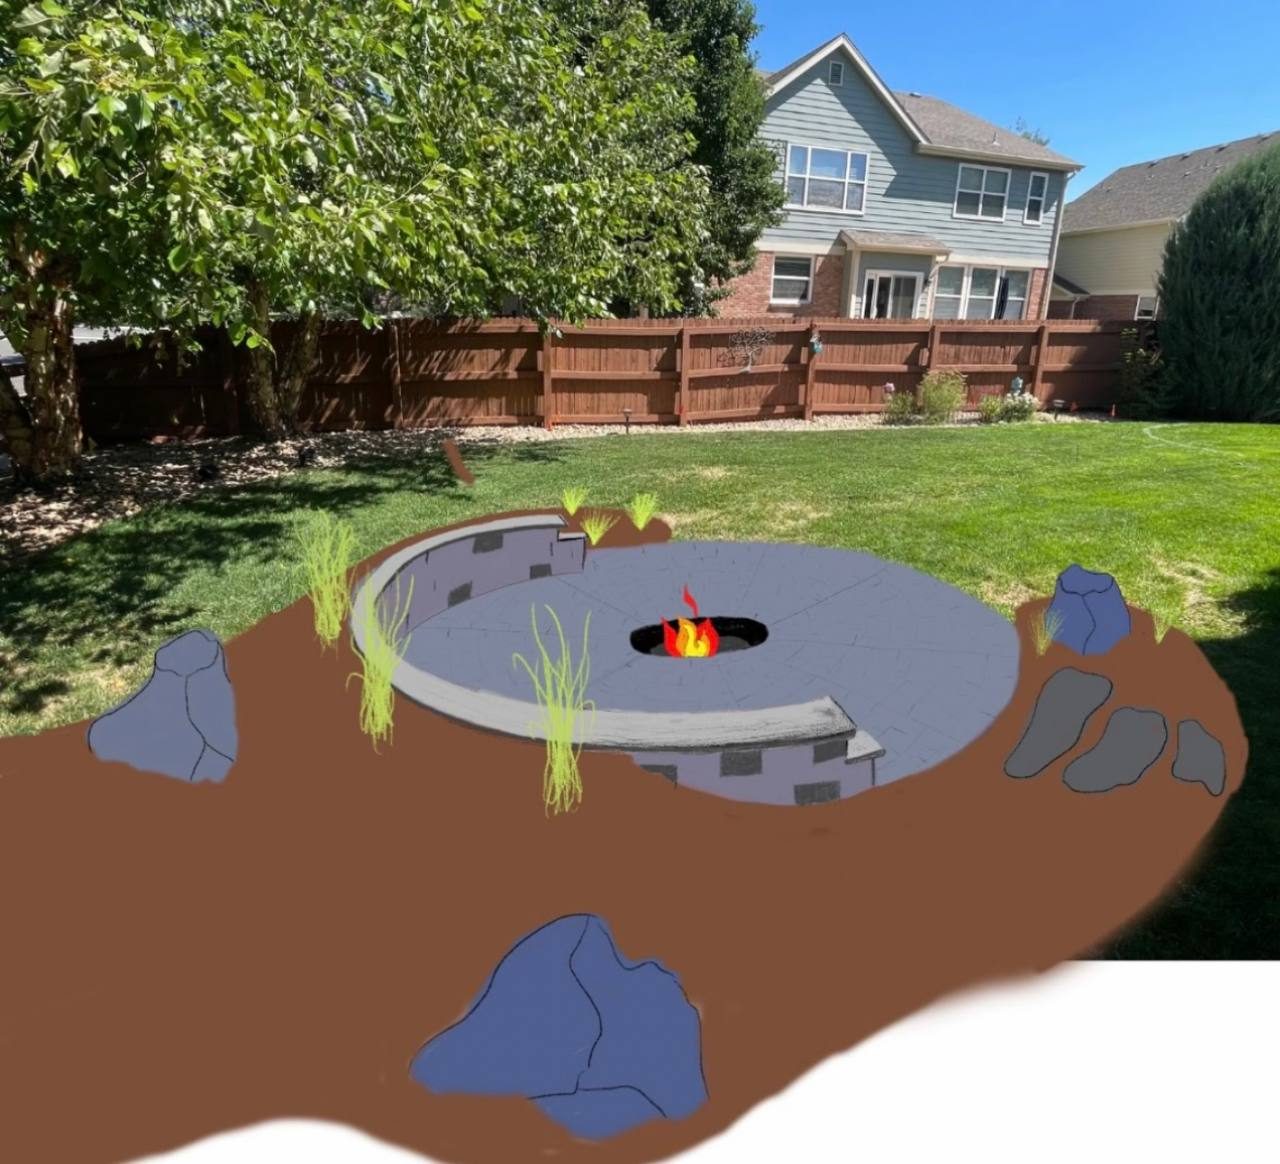
Design Render
A digital render overlaid on the actual space shows the client exactly what they're getting — fire pit placement, boulders, ornamental grasses, mulch beds, and paver layout — before a single stone is placed.
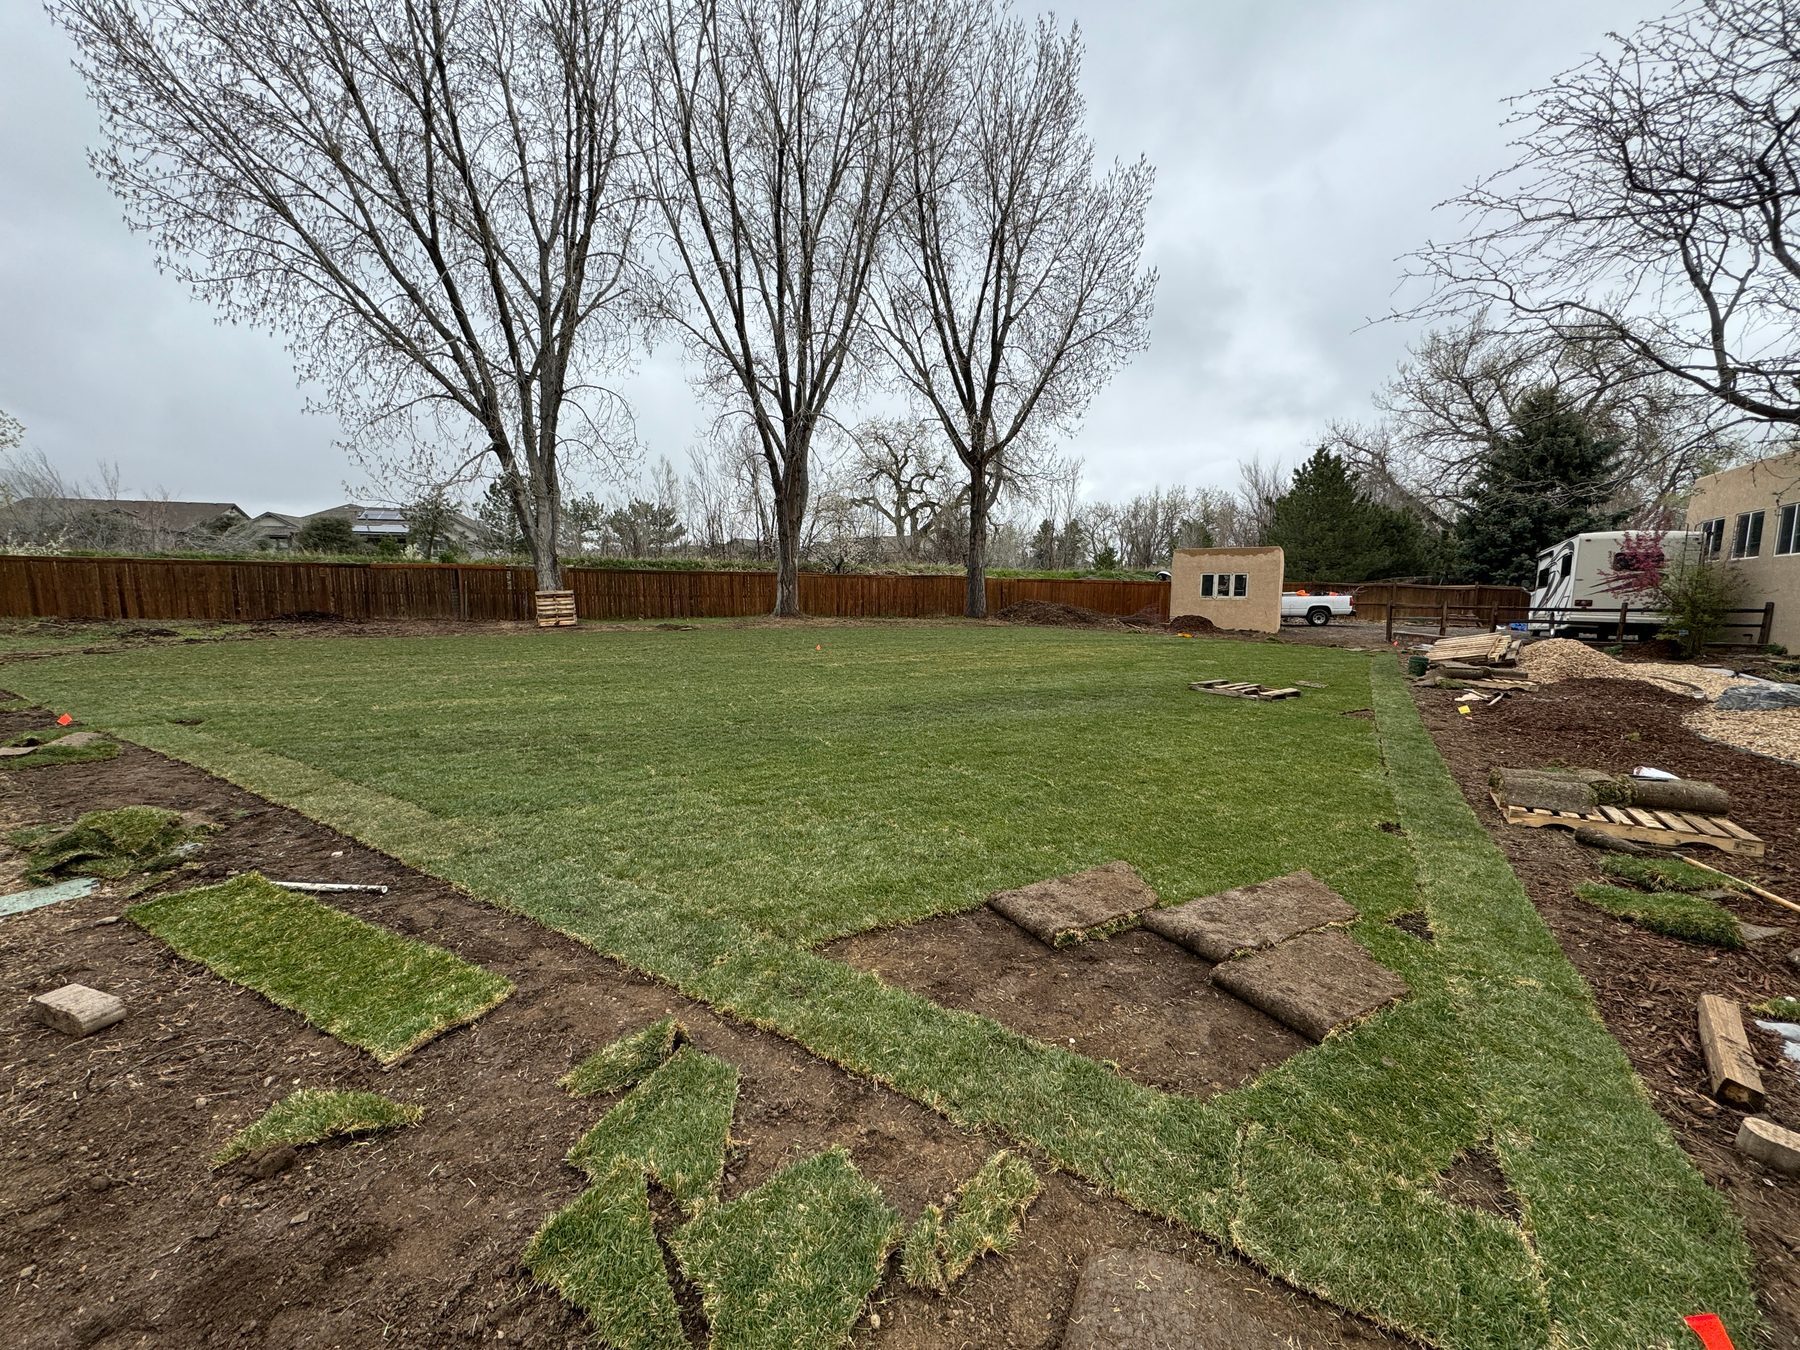
Taking Shape
Step 2 of 6 — Build Phase
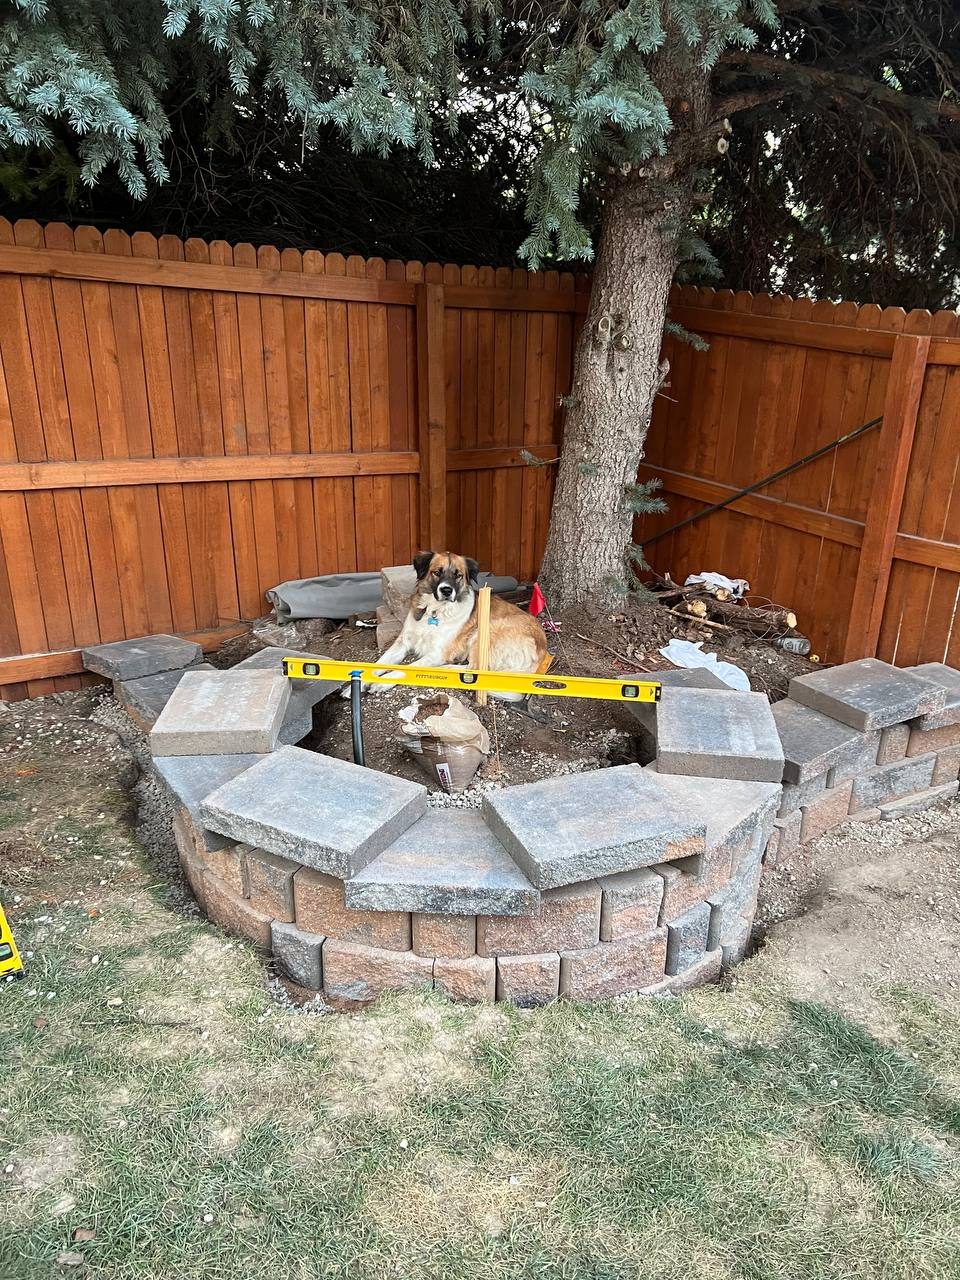
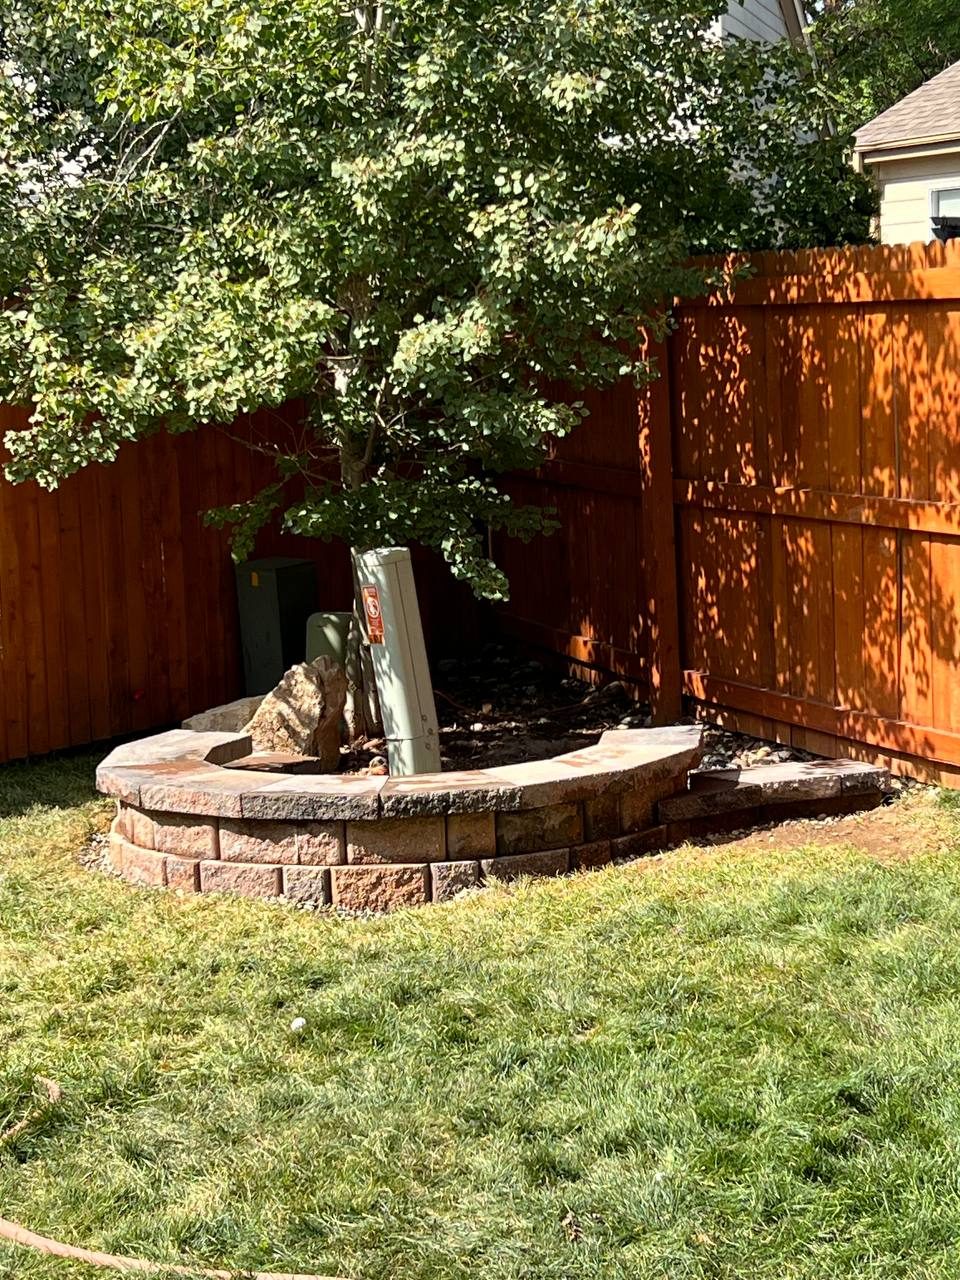
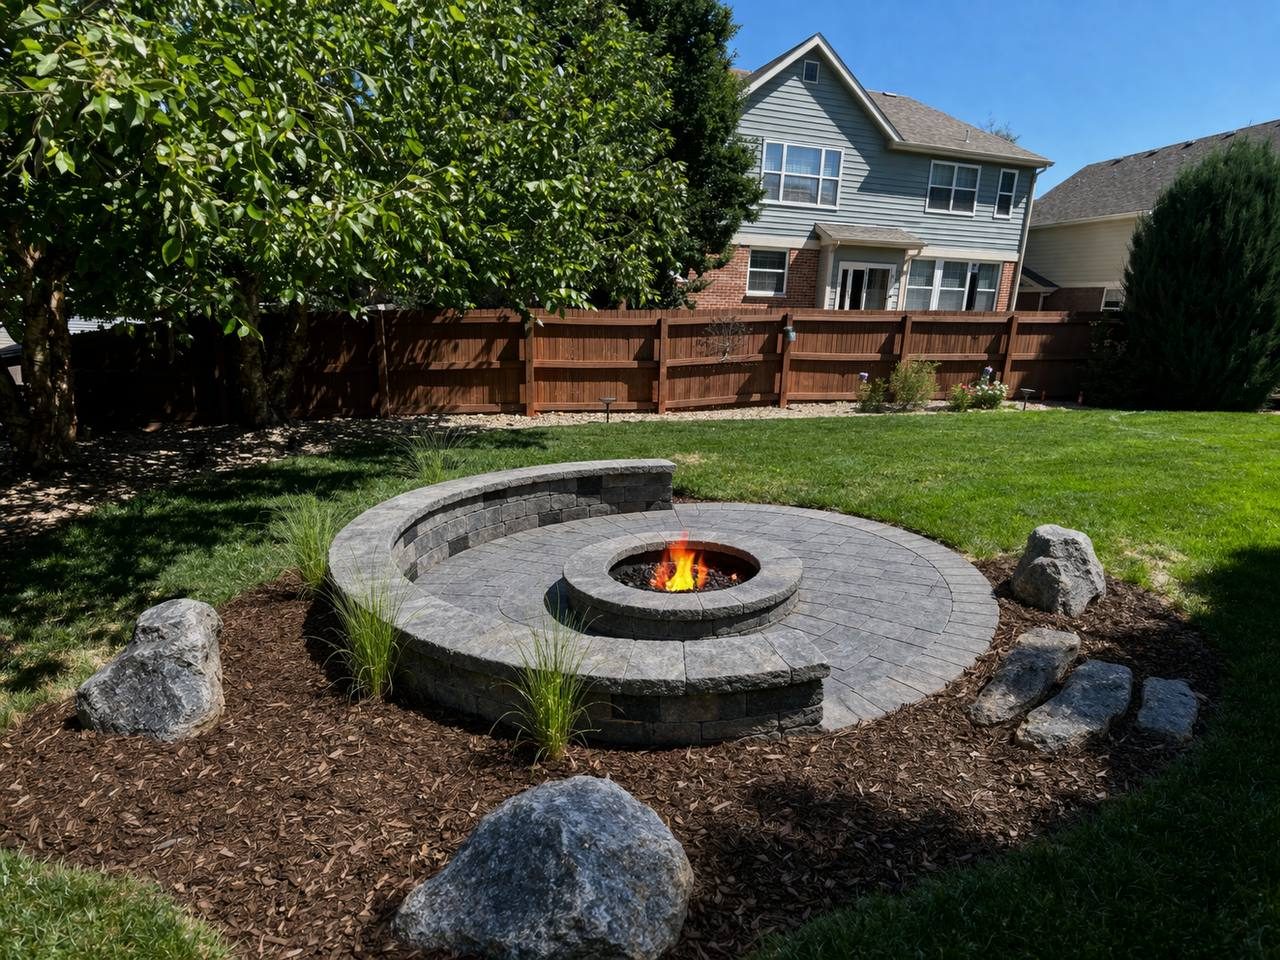
Fire Pit Ring & Beds Installed
The fire pit ring is set, mulch beds are laid, and ornamental grasses are planted. The design is coming to life exactly as planned.

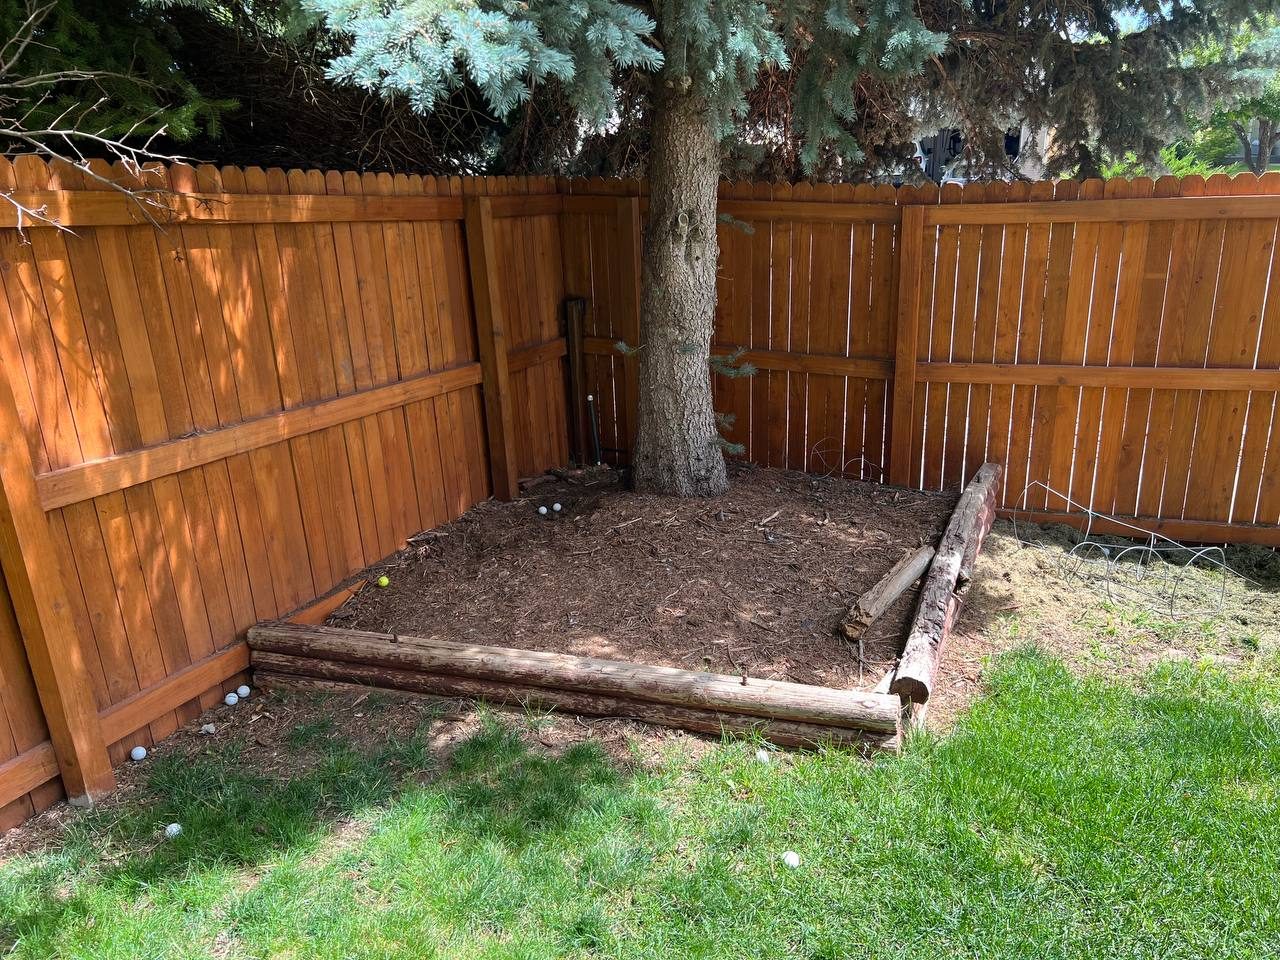
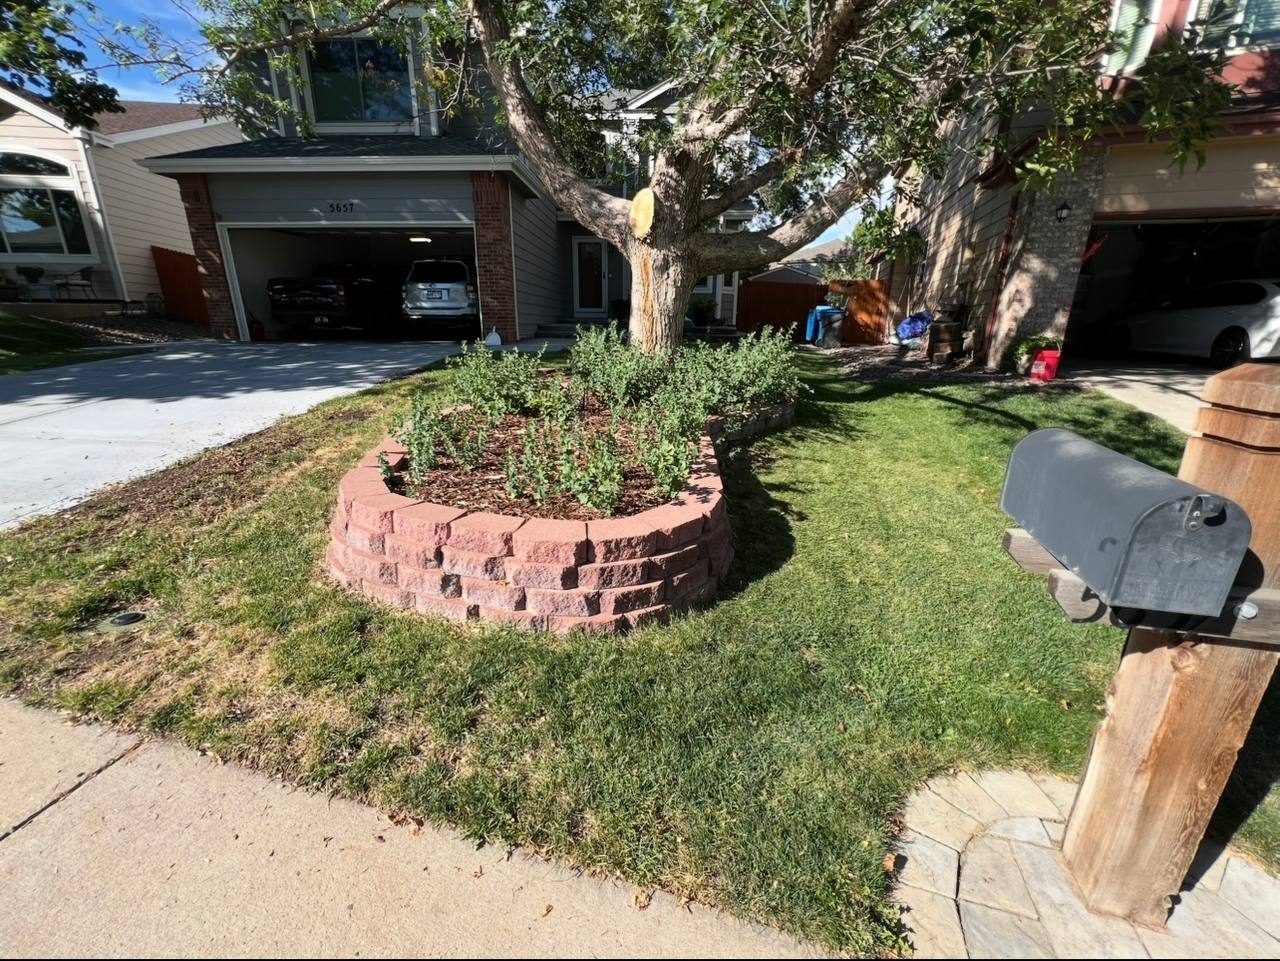
Before
Step 3 of 6 — Starting Point
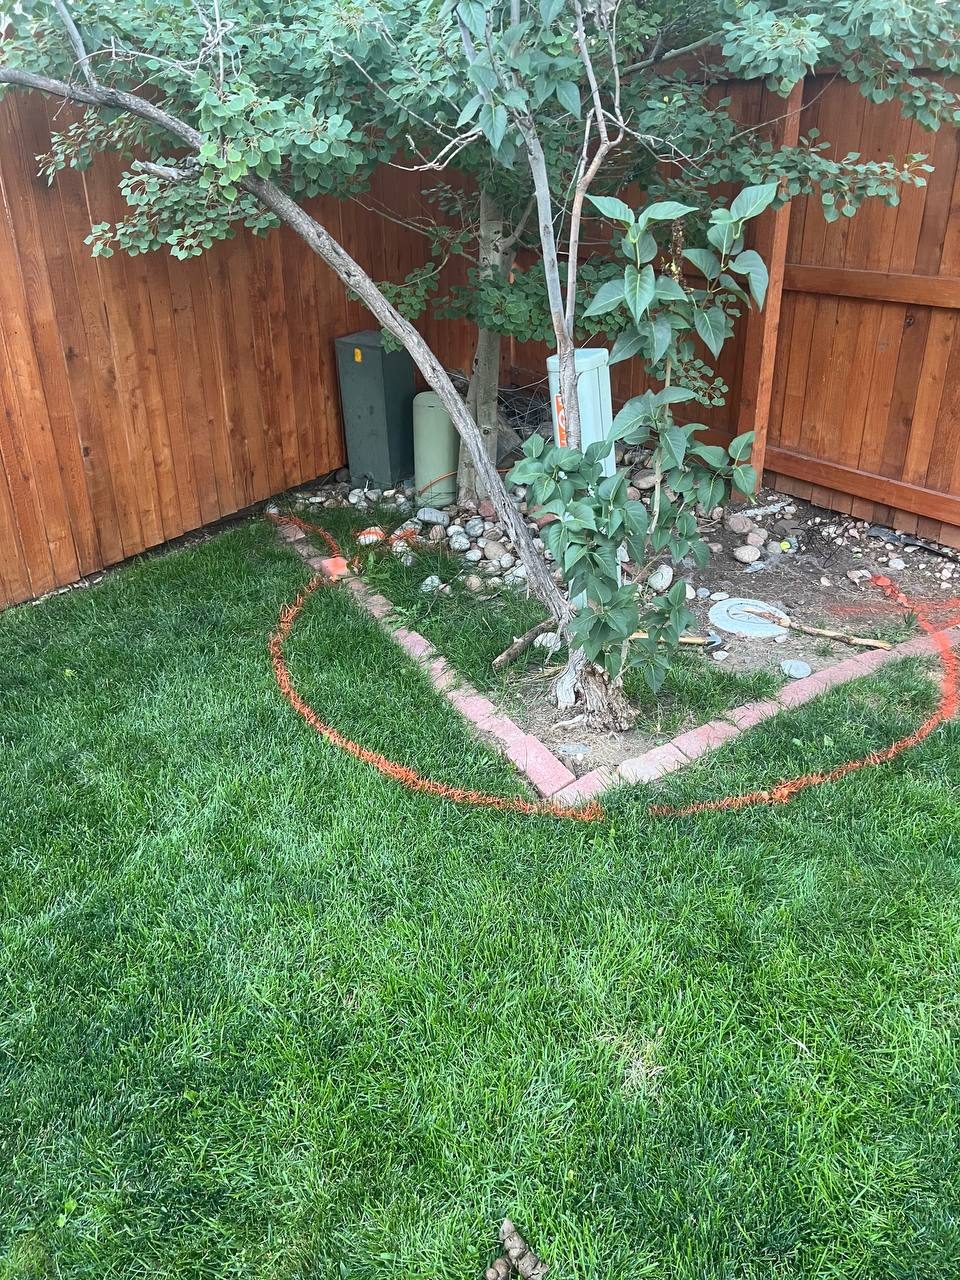
Bare Backyard
An empty dirt yard with a spray-painted circle marking where the fire pit will go. Every great outdoor space starts somewhere.
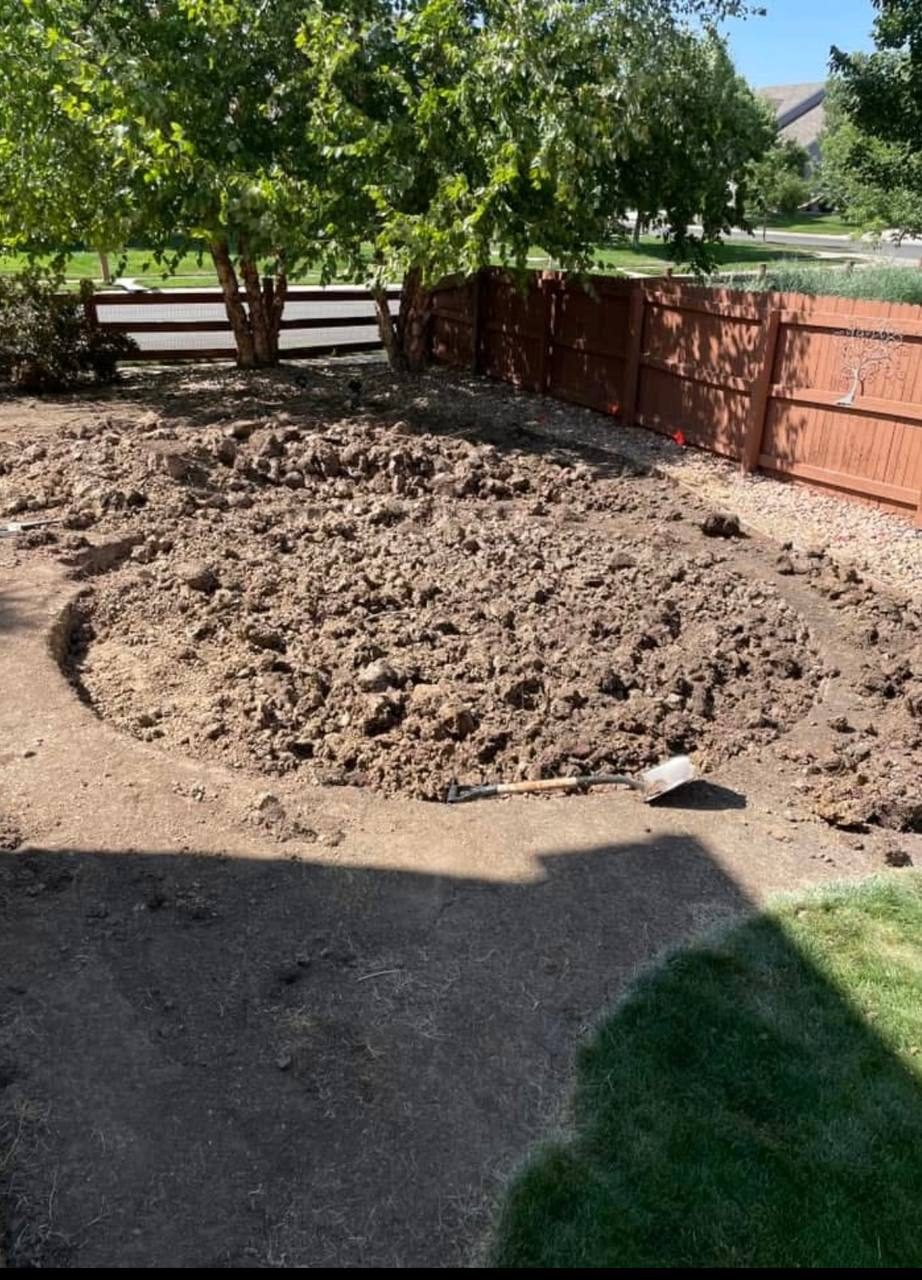
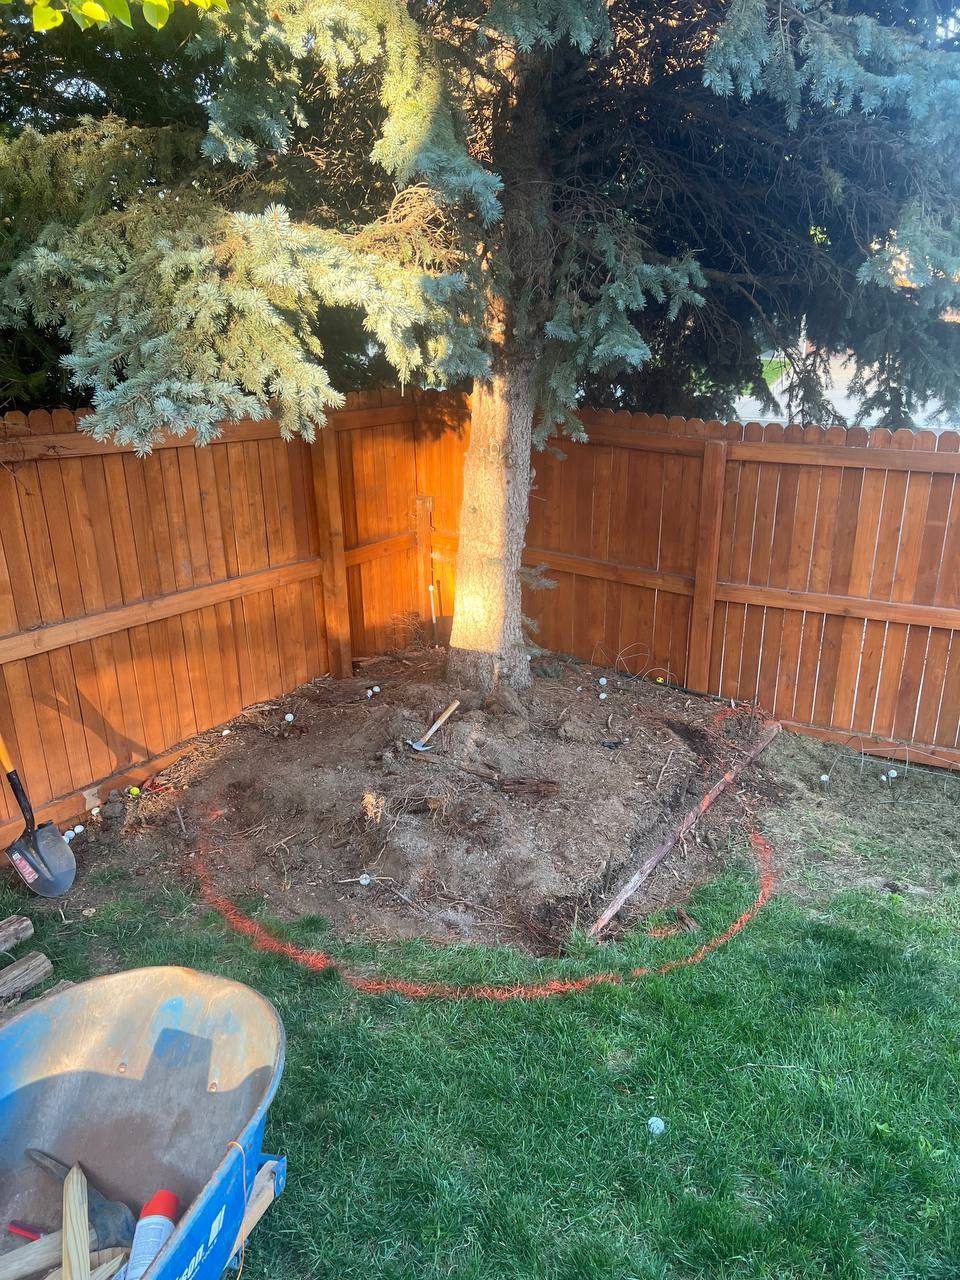
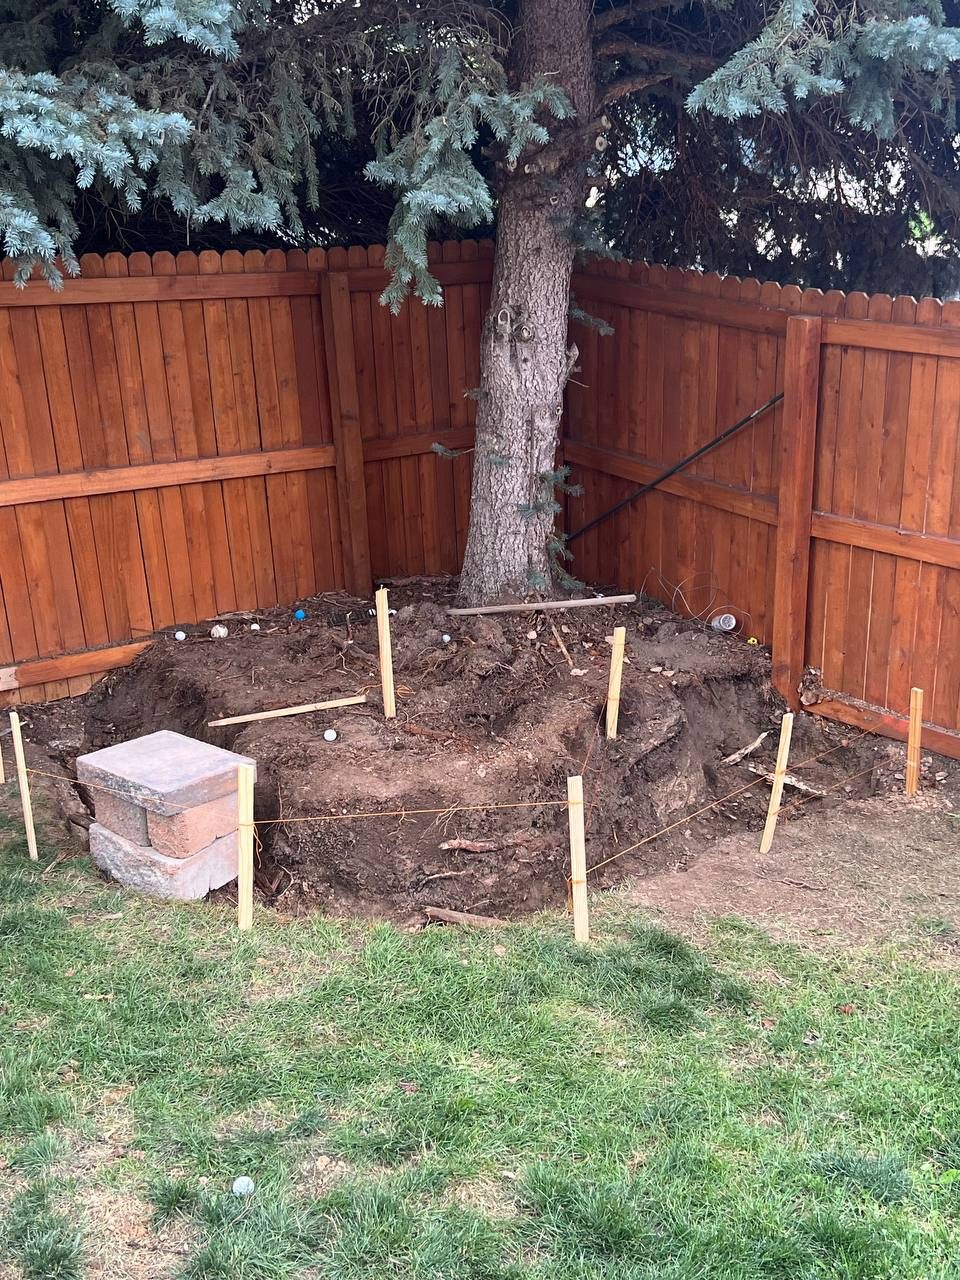
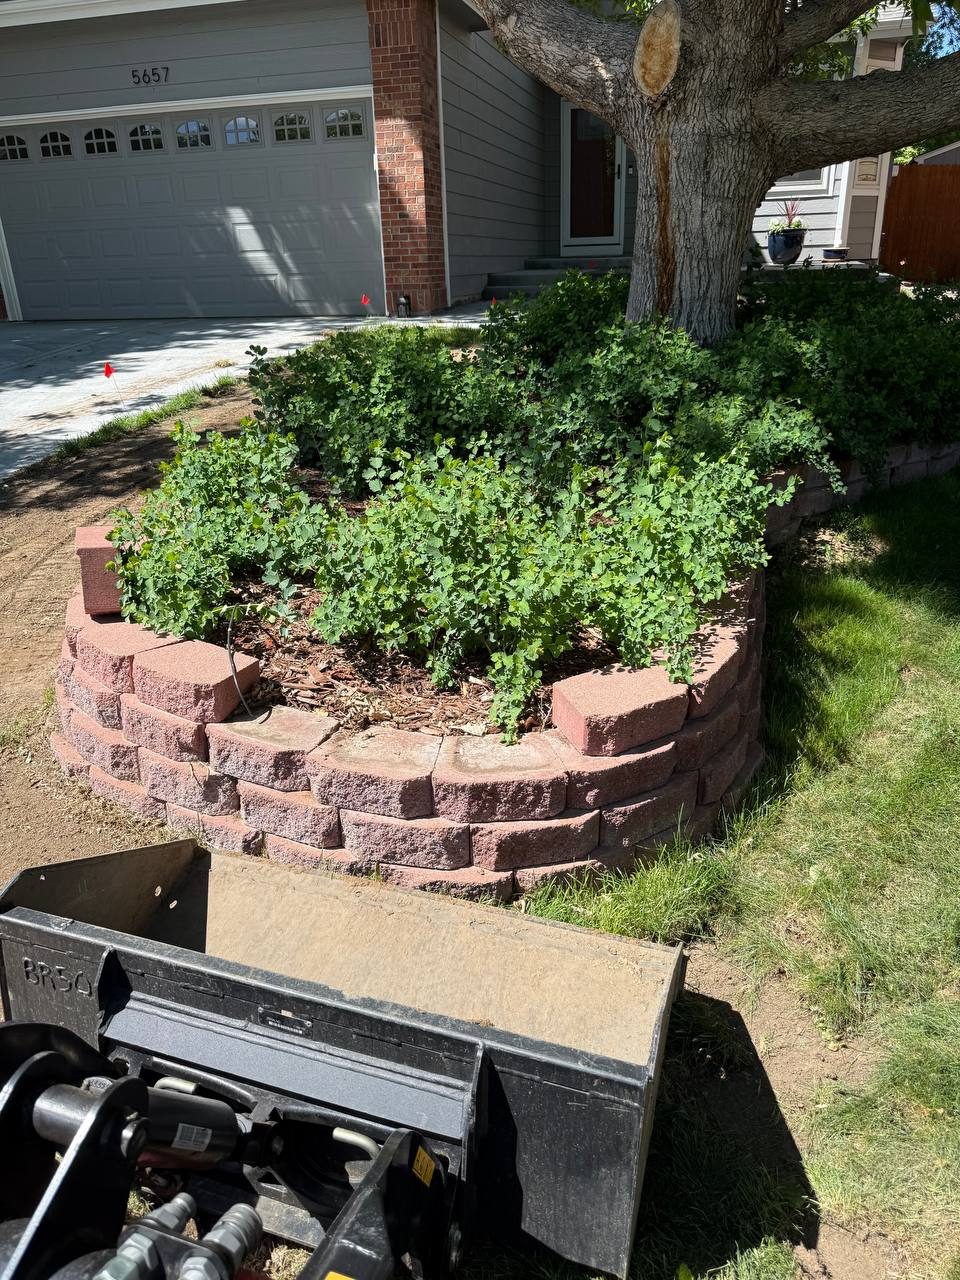
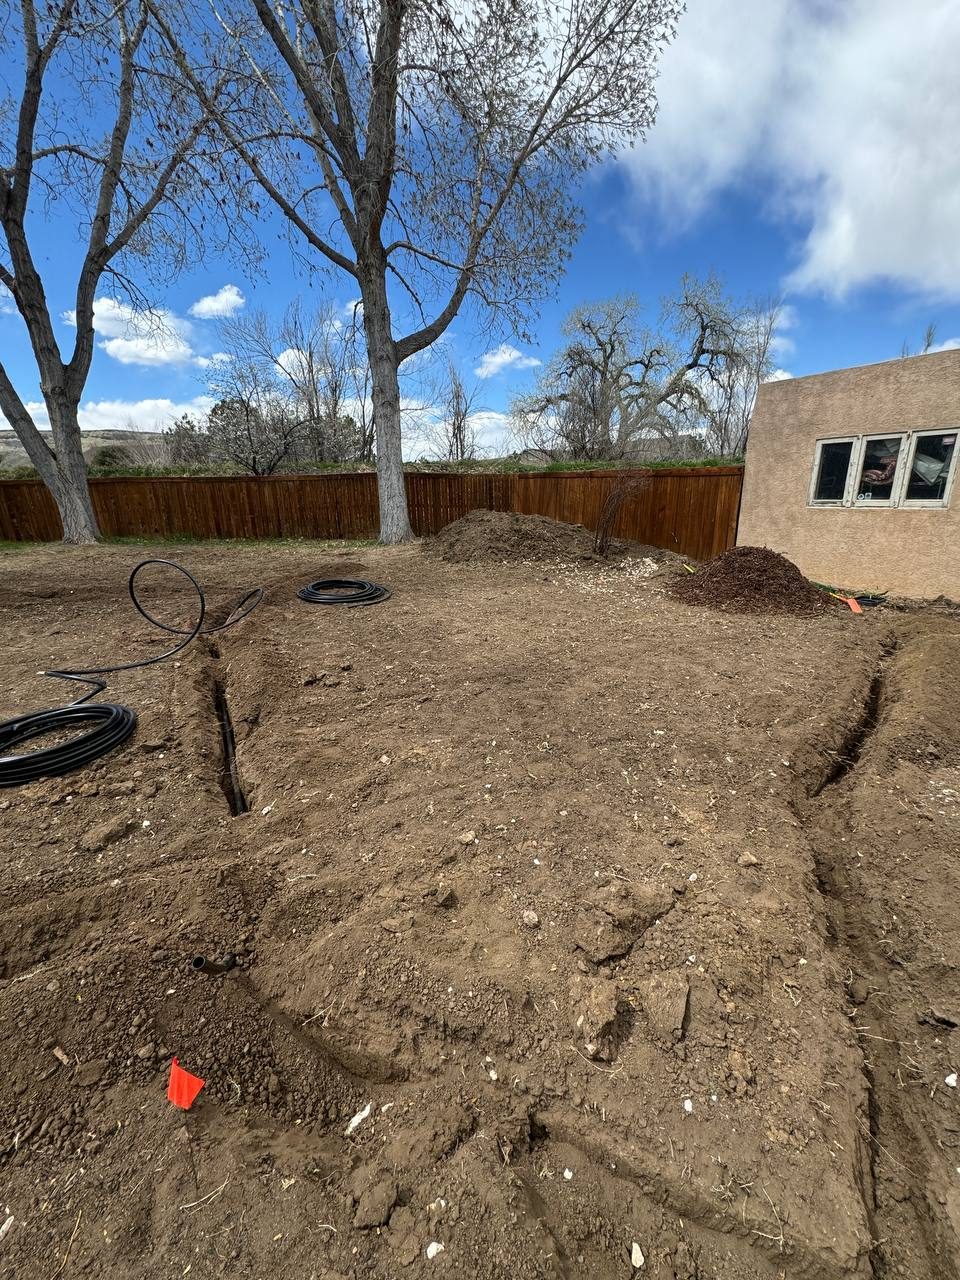
Excavation
Step 4 of 6 — Breaking Ground
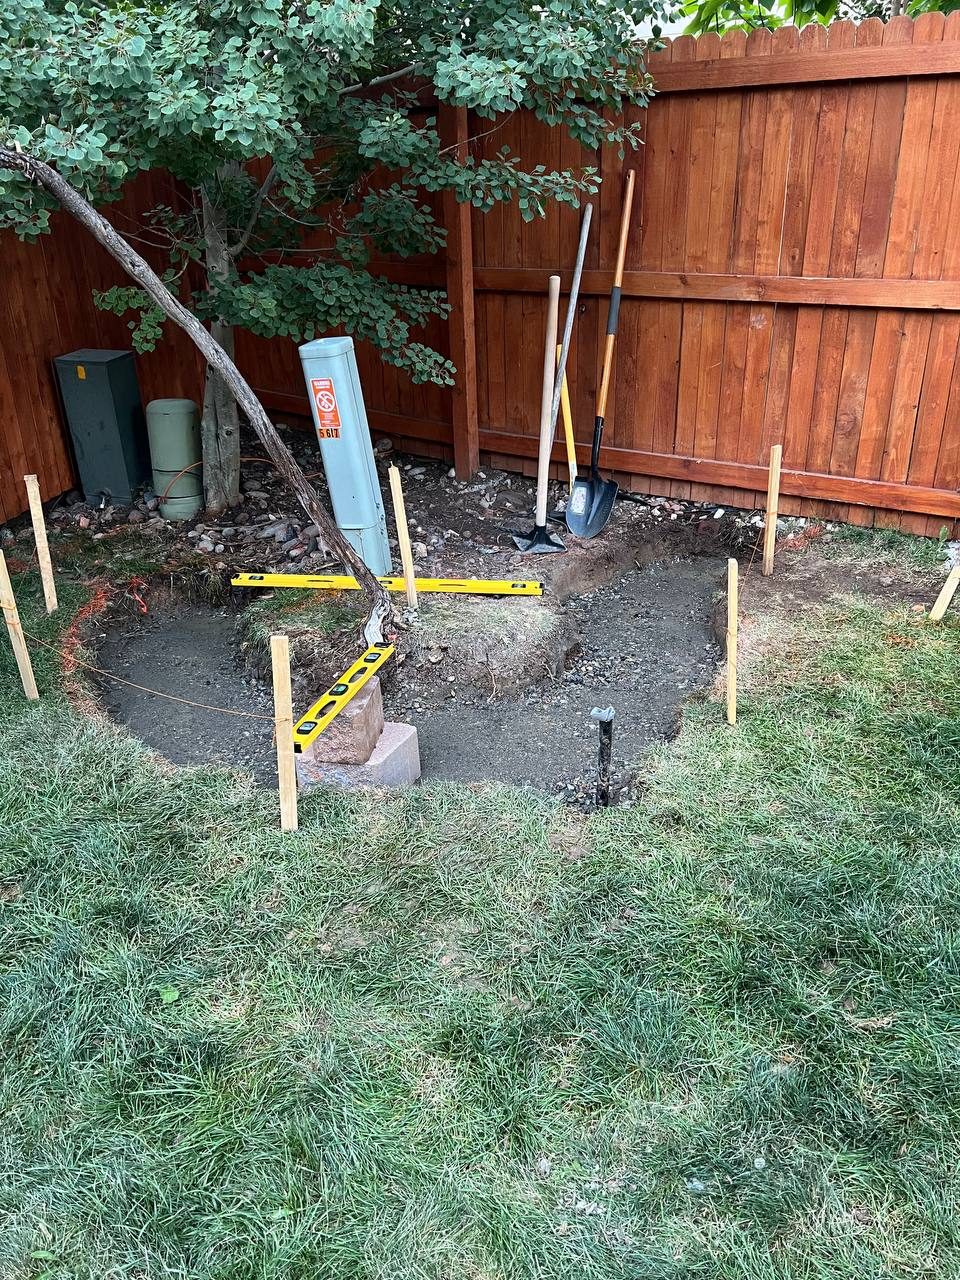
The Circle Is Dug
The fire pit footprint is excavated to the correct depth and graded for proper drainage. Getting the base right is what makes the finished product last for decades.
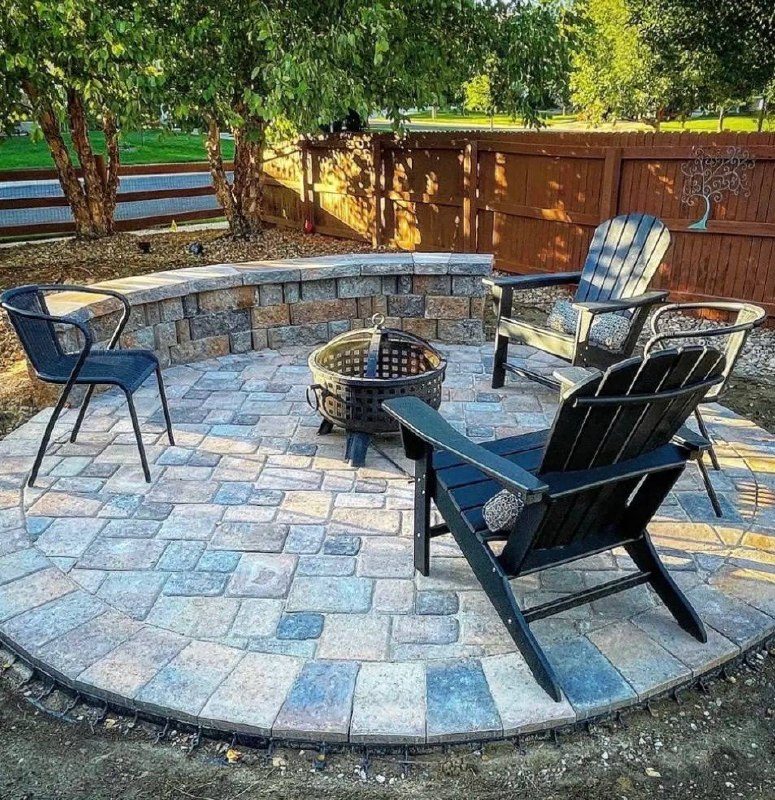
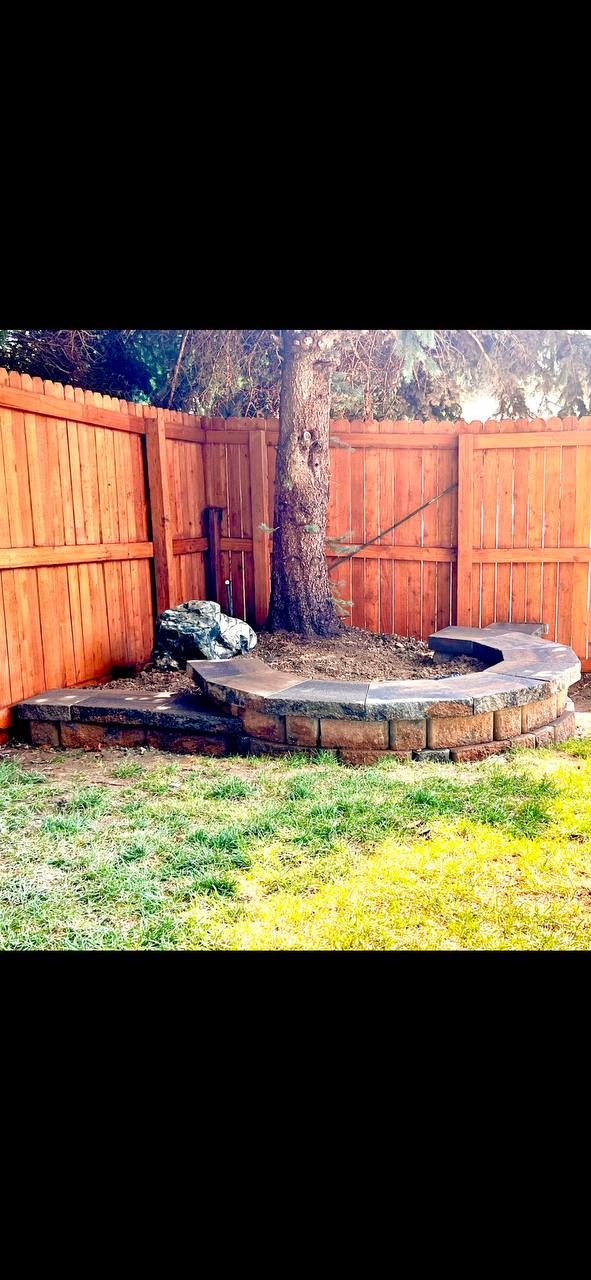
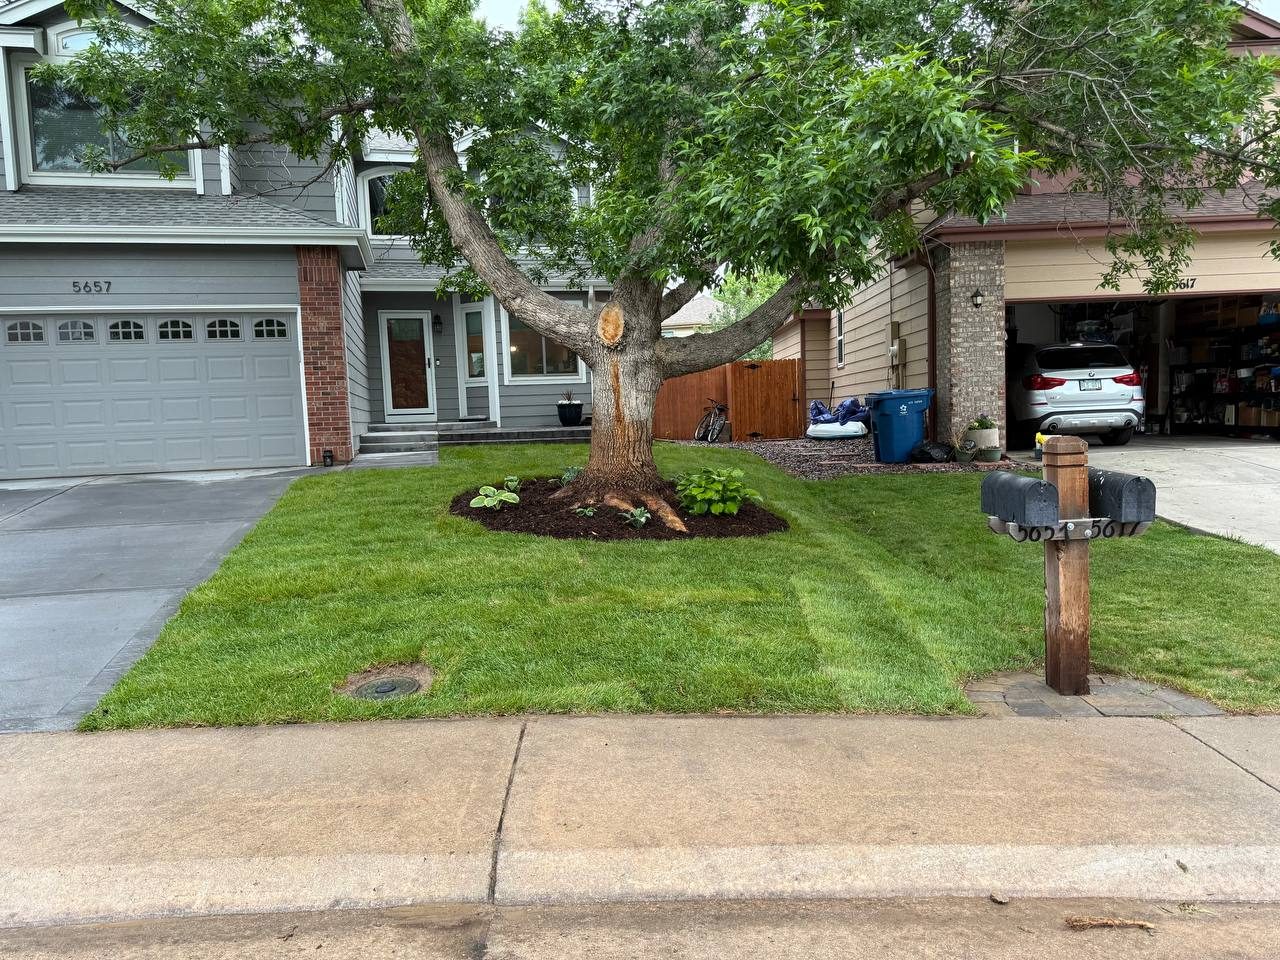
After
Step 5 of 6 — Finished
Complete Outdoor Living Space
Paver patio, curved stone seating wall, fire pit, boulders, and mulch beds. A backyard that went from nothing to the best seat in the house.

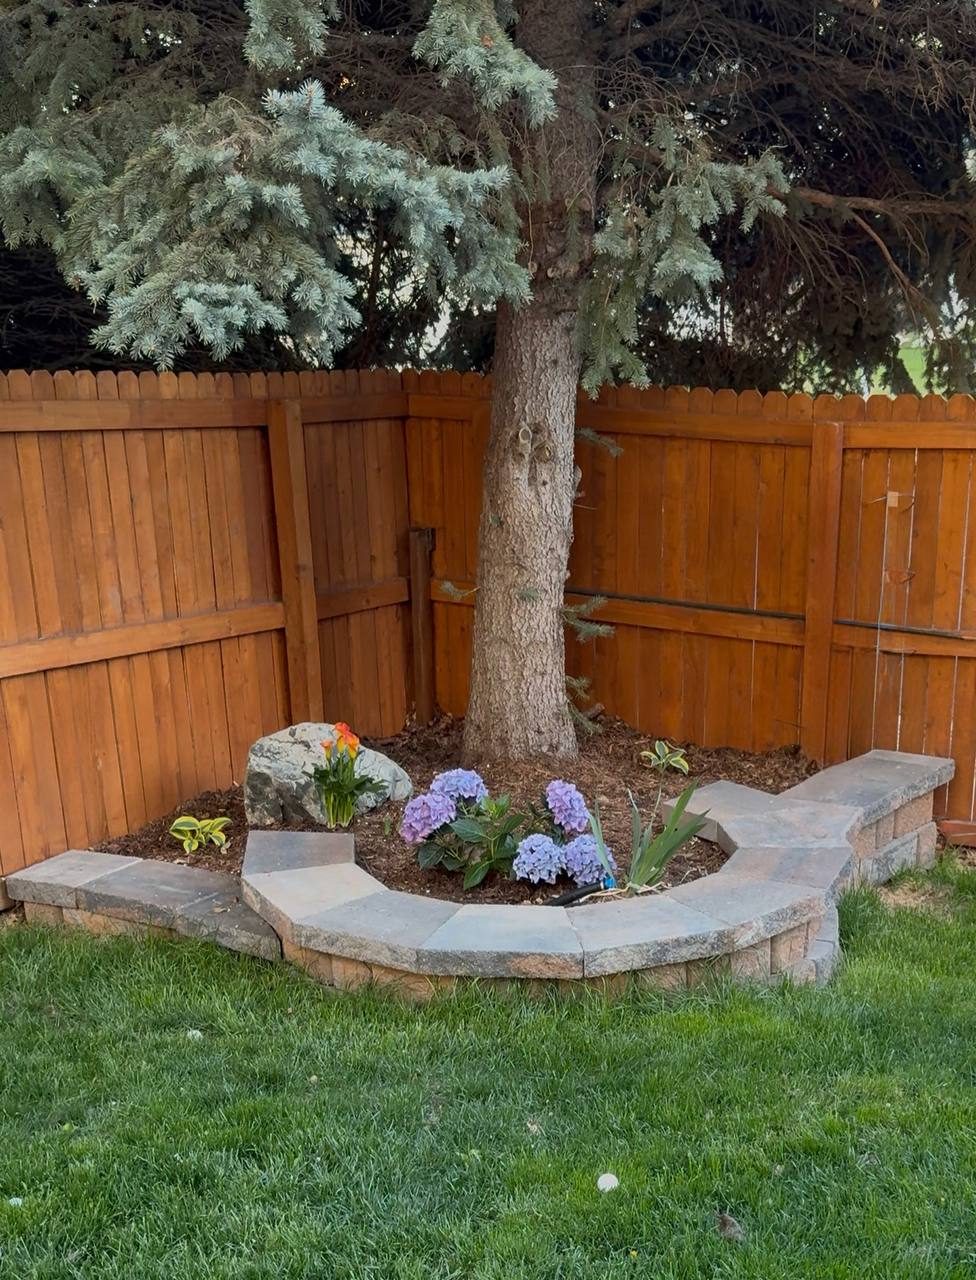
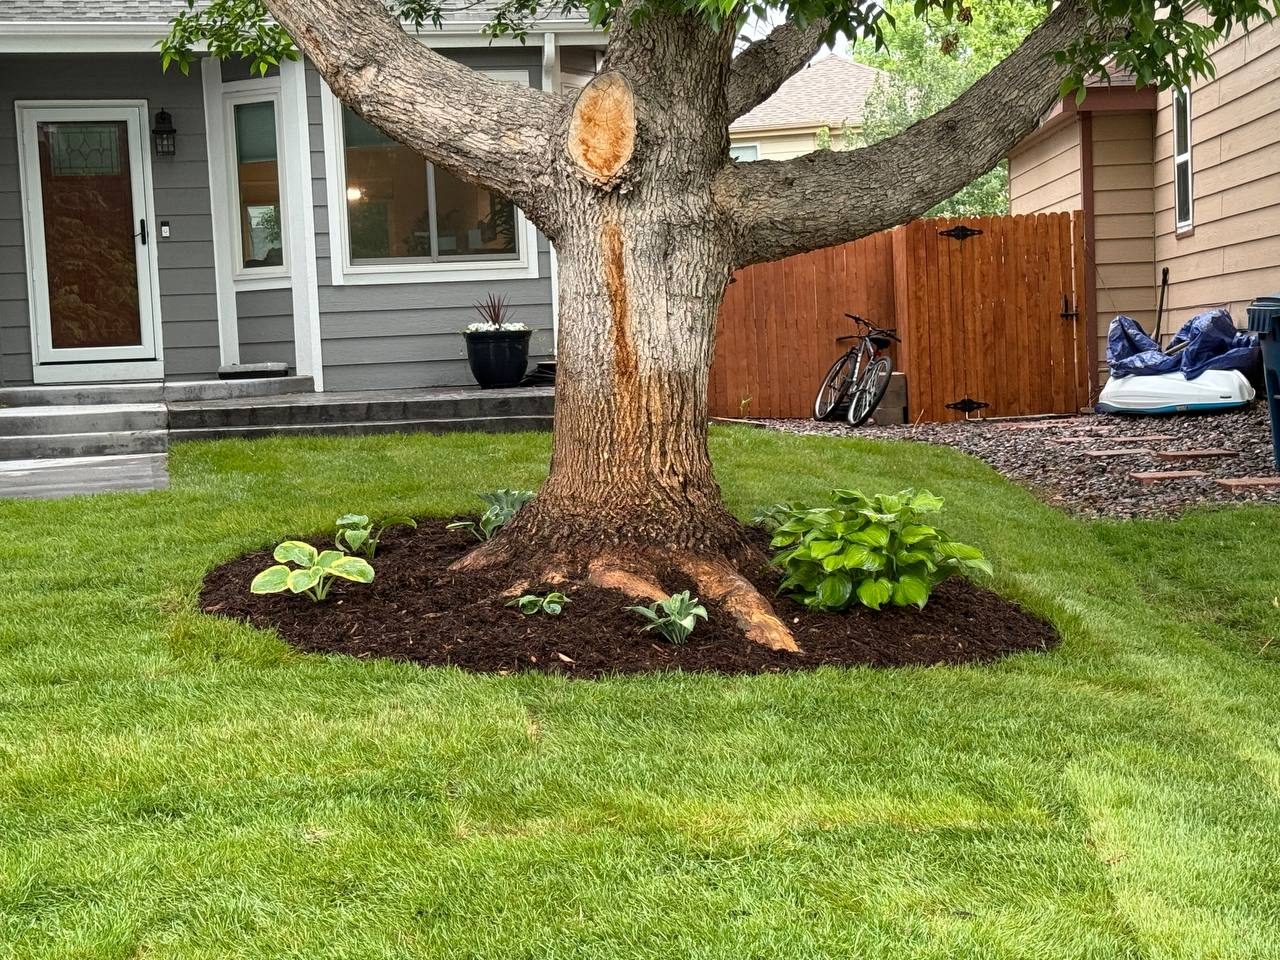
After
Step 6 of 6 — The Result
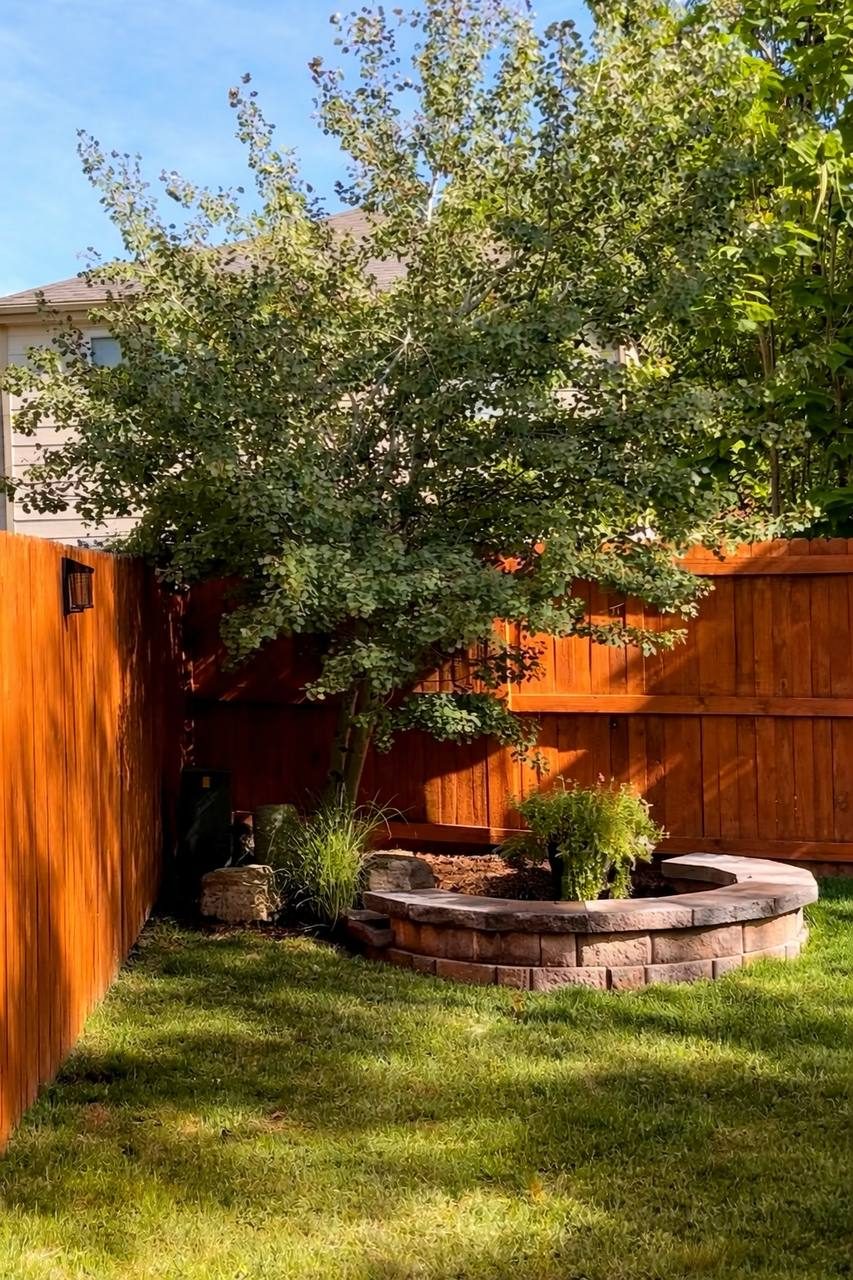
Ready for Every Evening
The finished space from a different angle — Adirondack chairs arranged around the fire pit, stone edging, and a clean paver walkway tying the whole design together.